If you’ve tried this before and it didn’t stick — a random YouTube routine, a 30-day challenge that made it to day 9, push-ups every other Tuesday — this guide isn’t going to pretend the problem was effort.
This is a complete plan for small space workouts with no equipment, built specifically for apartments and small spaces. Not a list of exercises. A structure — 4 weeks of sessions mapped out, with the right movement patterns, apartment-safe swaps, and a progression model for when it starts getting easy.
Most fitness content is written for people with a spare room, a set of dumbbells, and a clean hour free every morning.
If you’re working around 400 sq ft, a downstairs neighbour, and 20 minutes between meetings, the plan keeps falling apart because it was never designed for your situation. This one is.
Some links in this article are affiliate links, including Amazon links. As an Amazon Associate, I earn from qualifying purchases at no extra cost to you. Learn more.
Table of Contents
- Can You Actually Get Fit Without Equipment?
- What You Actually Need
- The 6 Movement Patterns
- The 4-Week No-Equipment Home Workout Plan
- Workout Planner Tool
- No-Equipment Exercise Library by Movement Pattern
- How to Progress When It Gets Easy
- Frequently Asked Questions
- Where to Go Next
Can You Actually Get Fit Without Equipment?
Yes — with two conditions. You need progressive overload (making the work harder over time), and you need a structure that covers the right movement patterns. Home workouts with no equipment can absolutely do both — bodyweight training builds real strength, improves conditioning, and changes how you feel day to day.
What it won’t do quickly: add a significant amount of muscle mass. Bodyweight training can build noticeable strength and muscle definition — most people see real changes around weeks 5–6 with consistent training. But if adding significant size is the goal, you’ll eventually want to add resistance. The home workout for muscle building guide covers that progression. For now, a structured no-equipment routine is more than enough to get you stronger, more capable, and back in a consistent habit.
You don’t need to earn the right to start. You don’t need a current baseline or to already be able to do 20 push-ups. This guide starts where most people actually are — not where fitness content assumes they are. If it’s been years and you want the gentlest possible on-ramp, the no-overwhelm guide to starting at home walks through those first few weeks step by step.
What You Actually Need
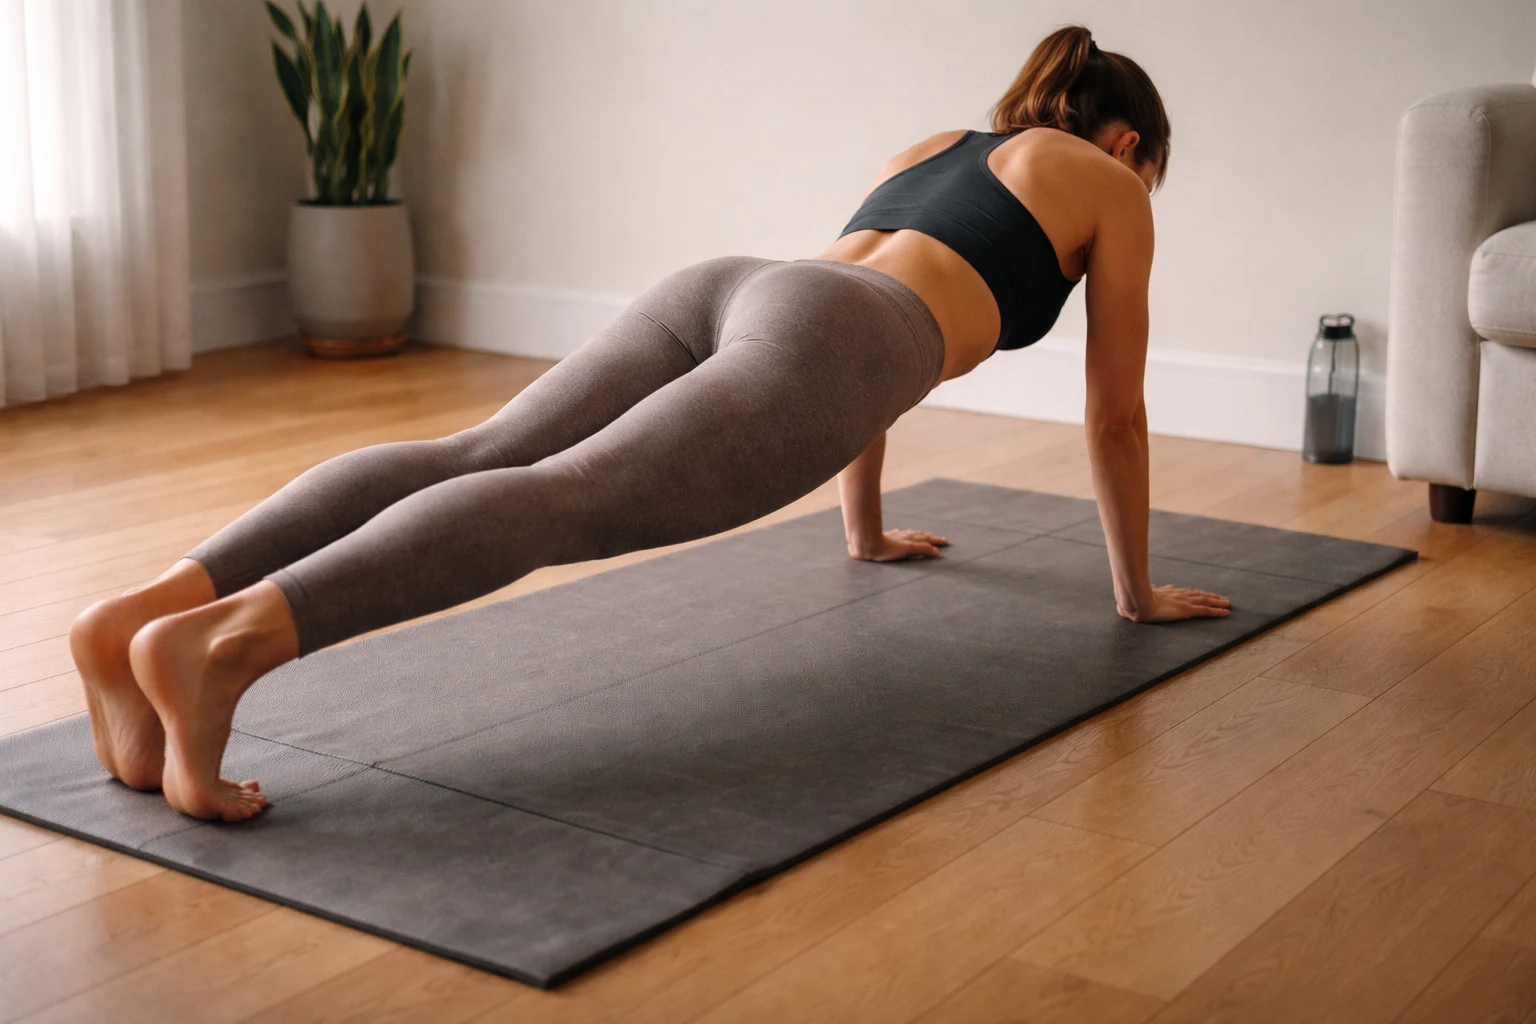
Floor space: the footprint of a yoga mat plus roughly one step in each direction. This entire plan works in approximately 2m × 1.5m (about 6.5 × 5 ft). If you can clear that much space in your living room, bedroom, or hallway, you have everything you need for a complete workout from home — no gym, no commute, no equipment required.
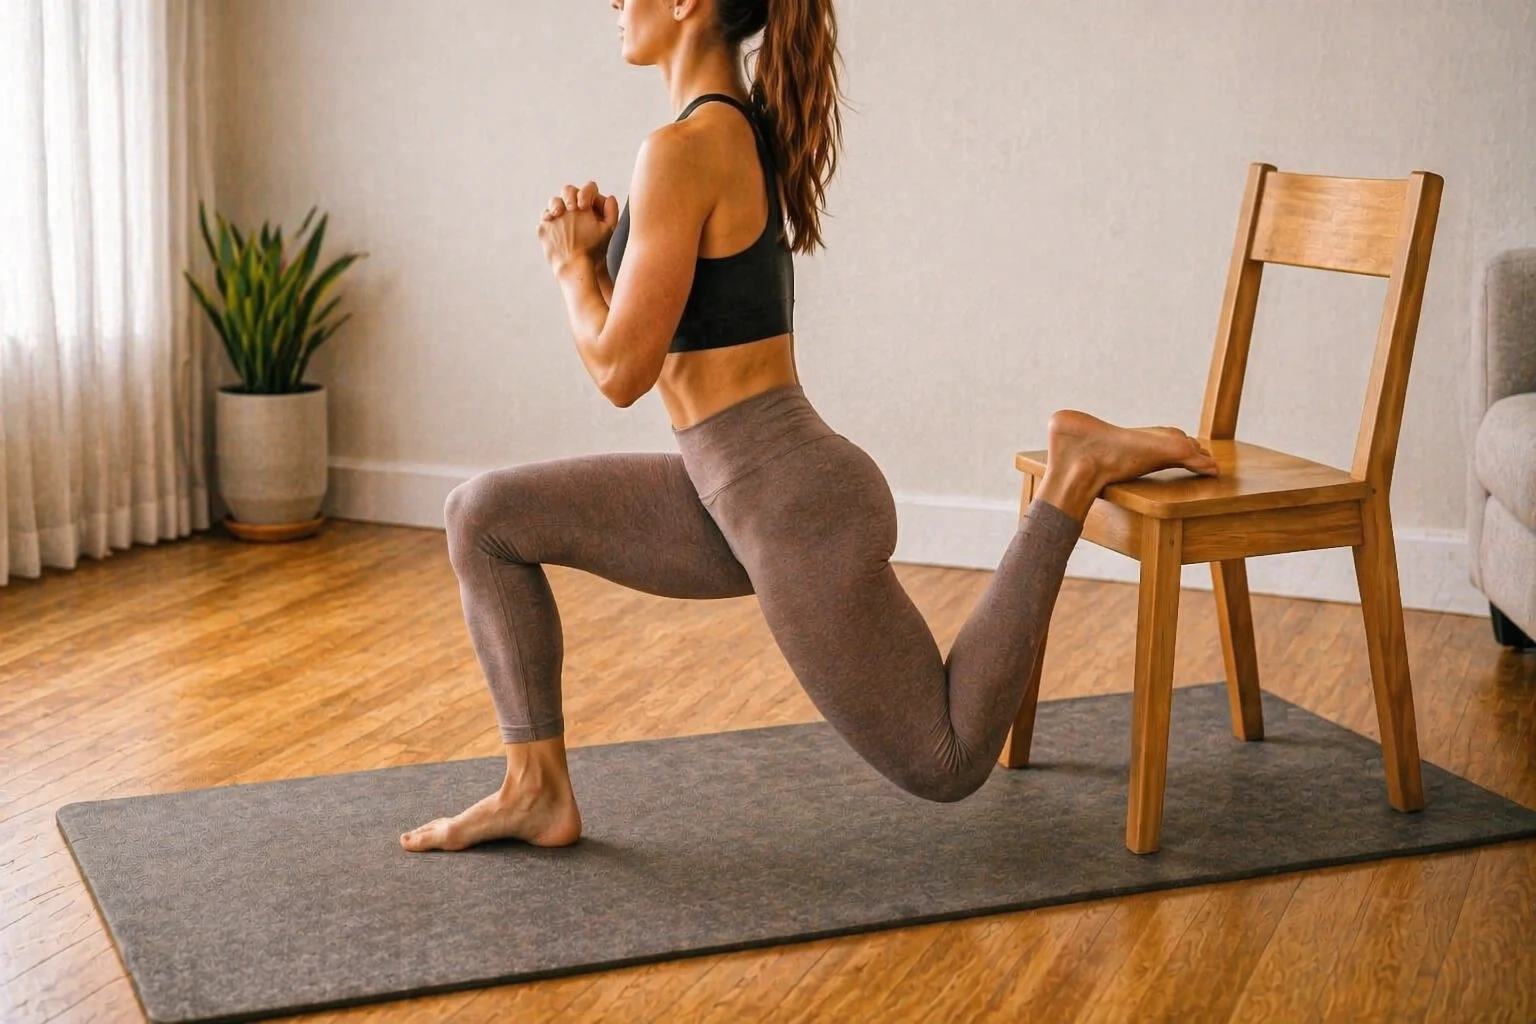
Equipment: none required. A yoga mat or any non-slip surface helps. A sturdy chair or the edge of a sofa expands your options slightly. That’s the full list. When you’re ready to add a first piece of gear, resistance bands are the most space-efficient first upgrade.
If you’re going to add one thing, make it something you’ll actually use daily.
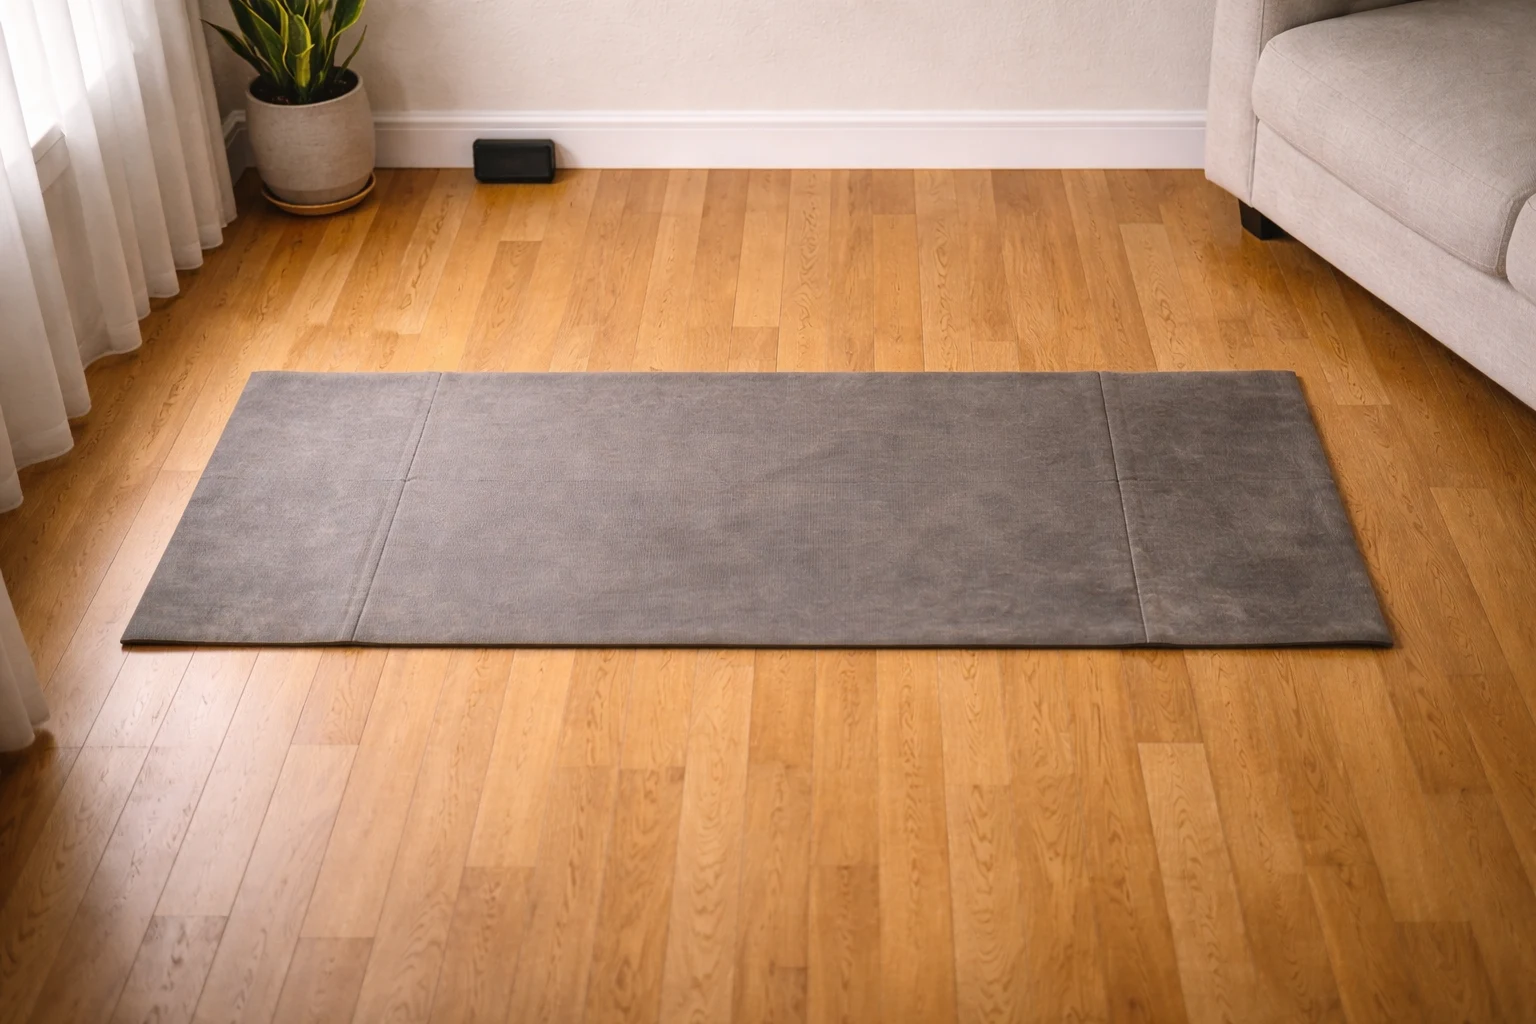
A practical mat for small spaces: Feetlu Foldable Mat — folds to the size of a laptop, grips hardwood.
Stores flat against a wall or in a drawer — no rolled mat taking up floor space. POE foam cushions floor work without the bulk of a standard mat. Under $40 and consistently the first piece of kit people in apartments actually buy.
The 6 Movement Patterns
A complete training routine needs to cover six fundamental movement patterns. This isn’t theory for its own sake — it’s why the plan below is structured the way it is, and why “just do push-ups and squats” eventually stops working.
- Push — chest, shoulders, triceps. Push-ups and their progressions.
- Pull — back, biceps, rear shoulders. Most home workout guides skip this entirely.
- Squat — quads, glutes, hamstrings. Bodyweight squats through to pistol squat progressions.
- Hinge — hamstrings, glutes, lower back. Glute bridges and single-leg variations.
- Core — not just crunches. Anti-rotation, stability, and bracing.
- Conditioning — raising your heart rate without jumping. Low-impact options throughout.
The pull pattern is the one most people are missing — the upper body home workout guide covers exactly how to train your back without a bar. The 4-week plan covers all six every training week. Skipping any one pattern over time creates imbalances — the most common being a weak upper back from ignoring pull entirely.
The 4-Week No-Equipment Home Workout Plan
This is a 3-day full-body programme — the right starting frequency for someone building or rebuilding a routine. Each session covers all 6 movement patterns. Weeks 3 and 4 introduce progression without adding complexity. It fits in 20–30 minutes per session with no equipment and no gym required. Default days: Monday, Wednesday, Friday. Use the planner tool below to map it to your own week. If your schedule is unpredictable, the workout plan at home guide covers how to adapt any structure to apartment life.
Weeks 1–2: Foundation
Before each session, spend 3–5 minutes warming up: march in place, arm circles, and a few slow bodyweight squats are enough to get things moving safely. Rest days mean no structured training — a short walk is fine, nothing more required.
Each session: 2 sets per exercise. Rest 60–90 seconds between sets. Work at a pace where the last 2 reps of each set are challenging but form stays clean.
| Exercise | Pattern | Sets | Reps / Time | Low-Impact Swap |
|---|---|---|---|---|
| Push-up (or incline push-up) | Push | 2 | 6–8 | Wall push-up |
| Bodyweight squat | Squat | 2 | 10–12 | Sit-to-stand (chair) |
| Glute bridge | Hinge | 2 | 10–12 | — |
| Table row (see exercise library) | Pull | 2 | 8–10 | Towel door row — Only use a heavy, stable table that cannot tip. If you’re unsure, skip this and use towel rows instead. |
| Dead bug | Core | 2 | 6 each side | — |
| March in place (slow, high knees) | Conditioning | 2 | 30 sec | Standing torso twist |
Start with the beginner level. Move up only when all reps feel controlled.
Weeks 3–4: Progression
Move to 3 sets per exercise. Introduce harder variations where available (see exercise library). Reduce rest to 45–60 seconds. In week 4, add a fourth set to your two strongest movements only.
| Exercise | Pattern | Sets | Reps / Time | Progression from Wks 1–2 |
|---|---|---|---|---|
| Push-up → Pike push-up | Push | 3 | 8–10 | Harder variation or 3s lowering tempo |
| Squat → Bulgarian split squat | Squat | 3 | 8 each side | Single-leg loading |
| Glute bridge → Single-leg bridge | Hinge | 3 | 10 each side | One leg at a time |
| Table row → Elevated feet row | Pull | 3 | 10–12 | More horizontal body angle |
| Dead bug → Hollow body hold | Core | 3 | 20–30 sec | Full tension hold |
| Step touch → Lateral step + reach | Conditioning | 3 | 40 sec | Larger range of motion |
If you’re unsure where to start, choose the easiest version and build from there.
The 20-Minute Express Version
For days when 20 minutes is all you have — this condensed circuit hits all 6 patterns in one pass.
| Exercise | Pattern | Duration | Rest |
|---|---|---|---|
| Push-up | Push | 40 sec | 20 sec |
| Bodyweight squat | Squat | 40 sec | 20 sec |
| Glute bridge | Hinge | 40 sec | 20 sec |
| Table row | Pull | 40 sec | 20 sec |
| Dead bug | Core | 40 sec | 20 sec |
| March in place | Conditioning | 40 sec | 20 sec |
Complete 3 rounds total — 18 minutes of work with transitions. On shorter days, 2 rounds still counts. Don’t skip entirely because you can’t do the full session.
Not sure how to fit this into your actual week? Use the planner below — it maps your days, session length, and noise situation into a ready-to-follow schedule.
Build Your Weekly Plan
Pick your days, session length, and noise situation — get your personalised schedule.
No-Equipment Exercise Library by Movement Pattern
Each pattern below shows a beginner → intermediate → advanced progression, plus an apartment-safe swap where the standard exercise creates noise or needs more space. These are the core movements for any no equipment full body workout — covering push, pull, squat, hinge, core, and conditioning in one library. Start at beginner level and move up only when your current variation feels fully controlled across all sets.
Push
| Level | Exercise | What Makes It Harder | Apartment Swap |
|---|---|---|---|
| Beginner | Wall push-up | Move feet further from wall | — |
| Beginner+ | Incline push-up (hands on chair) | Lower the surface | — |
| Intermediate | Push-up | 3s lowering tempo | — |
| Intermediate+ | Pike push-up | Elevate feet on chair | — |
| Advanced | Decline push-up | Add 2s pause at bottom | Pike push-up |
| Advanced+ | Archer push-up | Full range, slow tempo | — |
Pull
Pull training is almost always skipped in no-equipment guides because there’s no bar — which creates an imbalance over time. If you’ve ever done a month of home workouts and noticed your chest got sore but your back never did, that’s exactly this gap.
The exercises below train your upper back, rear shoulders, and biceps without any equipment. In practice, we’ve found the table row is the single most underused bodyweight exercise — and the one that makes the biggest difference to how balanced your upper body feels after a few weeks. Do at least one pull variation every session. Start at beginner level and move up only when the current variation feels fully controlled. If neither setup feels practical in your space, use a loaded backpack row — it’s the simplest no-setup fallback.
| Level | Exercise | How to Set Up | Notes |
|---|---|---|---|
| Beginner | Towel door row | Loop a towel around a door handle at waist height, lean back and row | Feet closer to door = easier; further = harder |
| Beginner+ | Table row | Lie under a sturdy table, grip the edge, pull chest up toward the surface | Keep body straight, don’t let hips sag |
| Intermediate | Elevated feet table row | Same as above, feet on a chair | More horizontal angle = harder |
| Intermediate+ | Backpack row | Fill a backpack with books, hold handles in bent-over row position | Keep back flat, hinge at hips |
| Advanced | Single-arm towel row | One arm at a time on the towel row setup | Demands more stability per side |
Squat
| Level | Exercise | Apartment Swap (Noise) |
|---|---|---|
| Beginner | Sit-to-stand (chair squat) | — |
| Beginner+ | Bodyweight squat | 3s lowering tempo removes impact |
| Intermediate | Pause squat (2s hold at bottom) | — |
| Intermediate+ | Bulgarian split squat (rear foot on chair) | Step down slowly — no jumping |
| Advanced | Shrimp squat (wall-assisted) | Hold wall for balance |
| Advanced+ | Pistol squat progression | Assist with doorframe |
Hinge
| Level | Exercise | Notes |
|---|---|---|
| Beginner | Glute bridge | Drive through heels, squeeze at top |
| Beginner+ | Glute bridge with 2s hold | Builds glute activation before progressing |
| Intermediate | Single-leg glute bridge | Non-working leg extended straight |
| Intermediate+ | Bodyweight hip hinge (RDL pattern) | Hinge at hips, soft knee, feel the hamstring stretch |
| Advanced | Single-leg hip hinge | Slow and controlled, full range |
Core
| Level | Exercise | Notes |
|---|---|---|
| Beginner | Dead bug (alternating arm + leg) | Low back stays flat on floor throughout |
| Beginner+ | Forearm plank | Hold 30s, build to 45s then 60s |
| Intermediate | Hollow body hold | Lower back pressed to floor, arms + legs extended — harder than it looks. If your low back lifts off the floor, you’re not ready for this yet. Go back to dead bug. |
| Intermediate+ | Side plank | Hips stacked — don’t let them drop |
| Advanced | Plank shoulder tap | Keep hips level — no rotation |
Bodyweight core work takes you a long way, but once planks and hollow holds stop being hard, an ab roller is the most compact way to add real load — the apartment ab roller guide covers how to progress into it safely.
Conditioning
These raise your heart rate without floor impact — suitable for any apartment, any time of day. Bear crawl in place sounds gimmicky but it’s genuinely one of the better options here — full-body coordination, zero noise, and harder than it looks after 30 seconds. Most people skip it the first week and add it back by week 3. If a downstairs neighbour is your real constraint, the quiet, no-jump apartment routine is built end to end around silent movement.
| Exercise | Noise Level | Notes |
|---|---|---|
| March in place (slow high knees) | Low | Drive knees up, land softly |
| Lateral step touch | Low | Wide steps, add arm swing for intensity |
| Standing bicycle (slow) | Low | Elbow to opposite knee, standing |
| Squat to stand (slow, controlled) | Low | Pause at bottom, 3s up |
| Bear crawl in place | Low | Hands and toes, alternate hand + foot |
| No-jump burpee (step out, step in) | Low | Step back, step forward, stand — no jumping at any point |
The conditioning options above are all apartment-safe and zero-impact.
How to Progress When It Gets Easy
The programme above has built-in week-on-week progression. After week 4 — or if any part of the plan starts feeling too manageable — here’s how to keep making it harder without adding equipment.
One note before the methods: a 2-minute cool-down after each session goes a long way. A slow hip flexor stretch and a doorframe chest opener are enough to keep things from feeling stiff the next day. We’ve found most people skip this and regret it around week 3.
You don’t need all of these — pick one progression method at a time and apply it consistently before adding another.
1. Slow the tempo
A 3-second lowering phase on any movement — push-up, squat, glute bridge — dramatically increases difficulty without changing the exercise. Try this before jumping to a harder variation.
2. Add a pause
Hold the hardest position for 2 seconds. Pause at the bottom of a squat. Hold a push-up with your chest just above the floor. This removes momentum and forces the muscle to work harder.
3. Move to the next variation
Use the exercise library above. If 3 sets of 12 push-ups feels comfortable, move to pike push-ups. If bodyweight squats are easy, move to Bulgarian split squats. Progress one variation at a time — don’t skip levels.
4. Add a set before adding reps
When you can hit your target reps cleanly across all sets, add one set before increasing the rep count. Three sets of 10 → four sets of 10 → then three sets of 12.
5. Reduce rest time
Cutting rest from 60 seconds to 45 seconds makes the same workout significantly harder. Only do this once you can complete all sets with good form at the longer rest period.
6. Increase density
Do the same total work in less time. Track how long a session takes, then aim to finish the same exercises and sets 2–3 minutes faster the following week.
Frequently Asked Questions
Most people notice they feel stronger and have more energy within 3–4 weeks. Visible physical changes typically appear around weeks 5–8, depending on training frequency and diet.
The first two weeks often feel like nothing is happening — that’s a normal part of the adaptation process, not a sign the plan isn’t working. Don’t adjust based on how week 2 looks; adjust based on how week 6 feels. If week 6 still shows no progress, the two most common culprits aren’t the programme — they’re sleep and protein intake. Both matter more than most people expect.
Where to Go Next
If you’re starting from zero, follow this plan for 4 weeks before adding anything. If you’re already training consistently and want to progress further, jump straight to the muscle-building guide covered earlier.
Once you’re training consistently, two natural next steps open up. The first is adding some minimal equipment — a resistance band or a set of adjustable dumbbells expands what’s possible significantly without taking much space. The second is fitting training into your busiest weeks: the same structure compressed into less time, using the 20-minute express version already in this guide.
For now: pick three days this week, clear your floor space, and start with Week 1. That’s the whole plan.
If lower-body strength is where you want to focus next, two guides in this series go deeper than the routine above: the no-equipment leg workout lays out floor routines for quads, glutes, and hamstrings, and the at-home glute guide zeroes in on targeted glute training — both without a single piece of equipment.
Buff Fitness publishes general fitness information only. The plans and exercises in this guide are designed for healthy adults with no pre-existing injuries. Individual results vary — if you have a medical condition, injury, or health concern, consult a qualified professional before starting any exercise programme.